Working with dual-monitor setup? Don’t know how to print a screen on one monitor? Well, it is no science other than following some simple methods. With a trending use of multi-monitor setup, nowadays a lot of people search about several things to configure the different functionalities that can be used in a multi-monitor setup.
Whether you are a professional who is using a dual-monitor setup for official tasks or an individual using this setup for gaming, you’ll go through these things and ultimately search the web for the solution. To know about recent digital trends, you can visit Techtrada, a digital platform for verifying recent updates & tips & tricks to use the gadgets.
For the current topic of discussion “How to print screen one monitor”, I’m writing about the simple & Easy methods that you can follow to print screens easily.
Easy Methods How To Print Screen One Monitor
People are trying to opt for a dual monitor setup as it offers a more effective and comfortable working environment. Along with everything working smoothly if you are going through this issue to print screen on one monitor then this article is for.
I’ll elaborate on the ways to print screen one monitor, even if you are running multiple monitors setup. Let’s dive in to know simple & easy methods to print screen one monitor!
1. Use the Print Screen (PrtScr) Key

img source: techradar.com
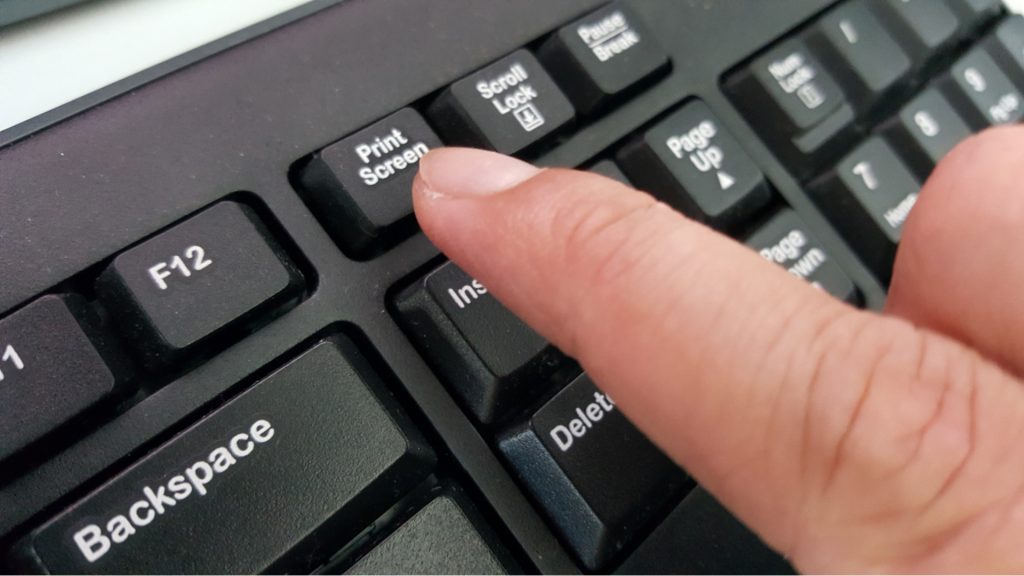
To print screen on any monitor, you may know about the print screen button your keyboard marked as (PrtScr). This is quite an easy method to print screens. This way you can easily take a screenshot on the secondary screen. So your program must be running on the selected display. Let’s see how you can take a screenshot by following this method.
Step 1: Click on the screen & enable the program you want to take a screenshot for.
Step 2: On your keyboard, press the combination Ctrl+ALT+Print Screen simultaneously to take a screenshot.
Step 3: Open the Microsoft paint window
Step 4: Click on the window & press Ctrl +V or you can right-click to select the paste option from the drop-down menu to put the picture in that window.
Step 5: Now you can edit the picture or click Ctrl+S to save the picture on your monitor.
2. Print Screen Using the Windows Snipping tool

img source: tencomputer.com
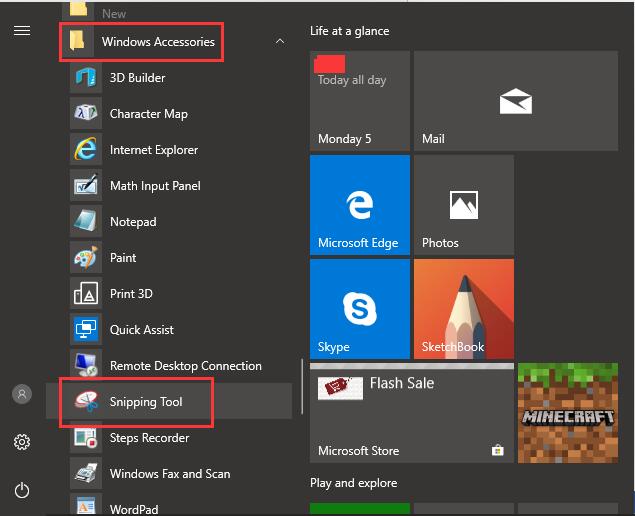
Along with more methods, Windows 10 has some built-in tools that you can use to take screenshots or print screens. The snipping tool is a simple snip & sketch tool that is available in Windows 10 by default. Using this tool is indeed the most ideal choice to print a screen on one monitor.
So, here I’ll tell you how you can print screens using the tool. But before you start you should set up a primary monitor.
Step 1: In your Windows 10, click on the search bar that you can find at the left corner of your display screen.
Step 2: Write Snip & Sketch tool
Step 3: A window will appear on the screen. You can click on the “New” option on the pop-up window or press CTRL + N.
Step 4: After that select the “rectangle tool” for going ahead to start snipping on your monitor screen.
Step 5: Now press & drag the mouse over the area on your display that you want to print.
Step 6: A window will open on your screen with your screen image.
Step 7: Press CTRL + S or click on the floppy sign on the window and save the screenshot for future use.
With this method, your screenshot will be saved on your primary display. If you want to print a screen on your secondary display, then you’ll have to set your secondary monitor as your primary display.
For taking a screenshot of your secondary monitor, follow the steps!
1. Print Screen By Pressing the CTRL and PrtSc key
Step 1: To print the screen on the secondary monitor you need to press CTRL + PrntScr & copy the image to the clipboard.
Step 2: Open MS paint or MS word document
Step 3: Paste the image by pressing CTRL + V
Step 4: Save the image by pressing CTRL + S
2. Print Screen Using ShareX (A third-Party Tool)

img source: un-install.info
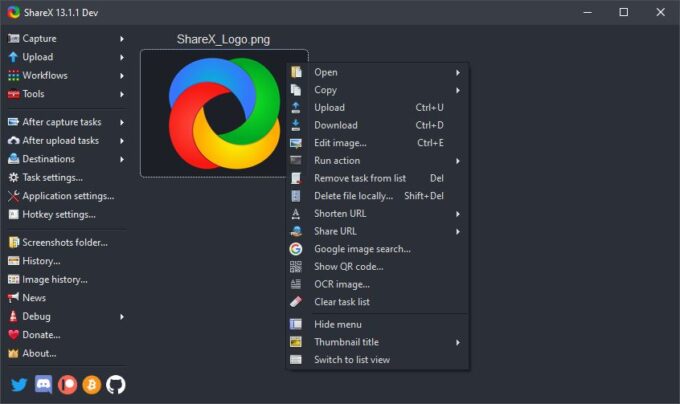
Another reliable method to print screen one monitor is using a third-party tool. Using these tools may help you in configuring more features but they work great for taking screenshots with accuracy. Let’s See how to use it!
- In the search bar of any search engine you are using, type ShareX
- Download Sharex, from any reputed website
- Once the software complete the download process, run the setup in install on your monitor
- After all configuration Settings, Start ShareX
- Sharex search results screenshot one monitor windows 10
- Find the ShareX option in your system and click to open.
- Choose the Capture Option & then select the monitor you want to print the screen for.
- The system shareX takes a screenshot of one monitor.
After the process is done, you’ll be notified through a message that your screenshot is being saved. That you can use further in future.
This tool is incredibly efficient and effective, it also allows you to change keyboard shortcuts or other fine-tune settings in any way you want.
Conclusion!
To print a screen on one monitor is not a difficult task. You just have to follow the simple & easy steps mentioned above.
You can use Windows 10 built-in tools to take a screenshot, you may use keyboard shortcuts & Also opt for third-party software to print screens more effectively and even faster.
I hope the above-mentioned steps are clear to you for taking a screenshot on one monitor. Follow the steps and it will be easy to use your multi-monitor setup.


