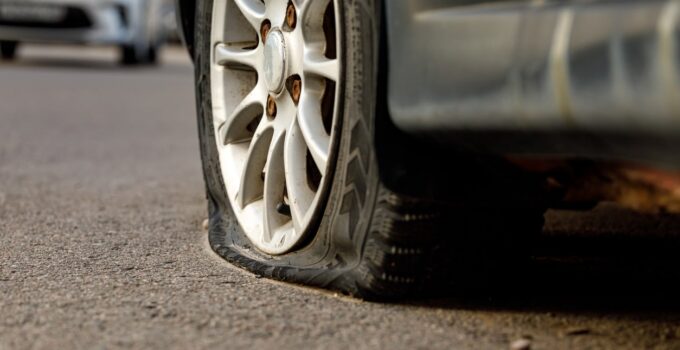
You’re on your way to an important meeting when you get a flat tire. What do you do? Do you pull over and call roadside assistance or change the tire yourself? Should you wait for someone else with warm clothes to help if it’s cold out? If you’ve never changed a flat tire before, we’ll teach you how.
If you drive too much on a flat tire, you could damage your car and therefore would need to purchase a new one. When you buy a new car, it’s important to read the information listed on the car’s dealer window stickers that provide essential details about the vehicle for sale. Auto dealerships can purchase dealer window stickers and other auto dealer supplies from MBR Marketing at https://mbrmarketing.com/dealer-supplies/stock-window-stickers.
Step 1: Don’t Wait Until You Get a Flat Tire
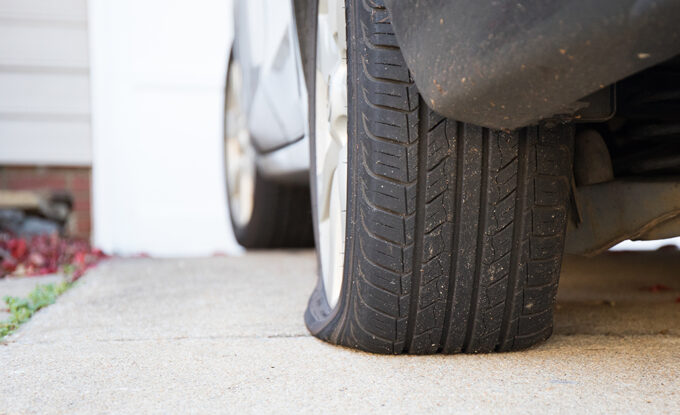
Source: homedepot.com
It’s not wise to wait until you have a flat tire to learn how to change one. In fact, you should know how before you even start driving. Understanding the basics of how your vehicle works is one of the best things you can do to ensure you can get from point A to B safely. You can also help somebody else if needed.
Knowing what to do will help ensure you have all the tools you need. And always remember that it’s possible to be stuck somewhere with no help in sight. That’s why we recommend having a roadside emergency kit in your car.
Furthermore, you should be checking your tire pressure periodically. Under-inflated tires can cause premature wear and tear on your tires, costing you more money in the long run. Keeping your tires at the recommended pressure will not only prevent you from getting a flat tire but can also help improve your gas mileage. Keeping your tires well-maintained is good practice, and you should do so all year-round.
Step 2: Find a Safe Place to Pull Over
Remember that your tire doesn’t immediately go from inflated to flat unless you’ve run over something that popped it. It will gradually deflate, so you have time to find a safe place to pull over. Try to get as far off the road as possible and ensure your car is visible from the road.
If it’s dark, be sure your headlamps are on so other drivers can see you. If you’re unable to pull over somewhere that’s completely safe, find the best spot possible. Sometimes, it may be on the side of the road. In this case, turn on your hazard lights to inform other drivers you’re pulling over.
Step 3: Put Your Car in Park and Press the Emergency Brake
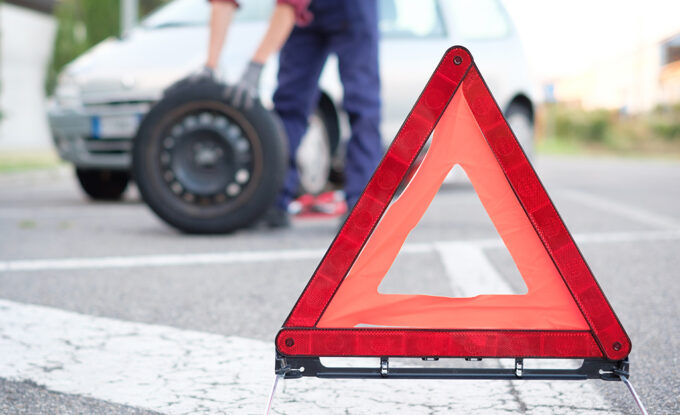
Source: homedepot.com
As soon as you’ve pulled over somewhere safe, immediately put your car in park and turn on the emergency brake. Do not forget about the emergency brake, as this could cause your vehicle to roll away, especially if you’re on a hill.
Step 4: Turn Off Your Engine and Lights
You’ll want to turn off your engine if you’re going to be changing your tire for a while to conserve some gas. However, you can keep the engine on if you’re used to changing tires to keep your car warm. You should also keep the lights off unless it’s dark out, so other drivers don’t think you’re still driving. If it’s dark outside, you’ll want to turn on your hazard lights so other vehicles can see you.
Step 5: Inspection
Source: andrewsautotire.com
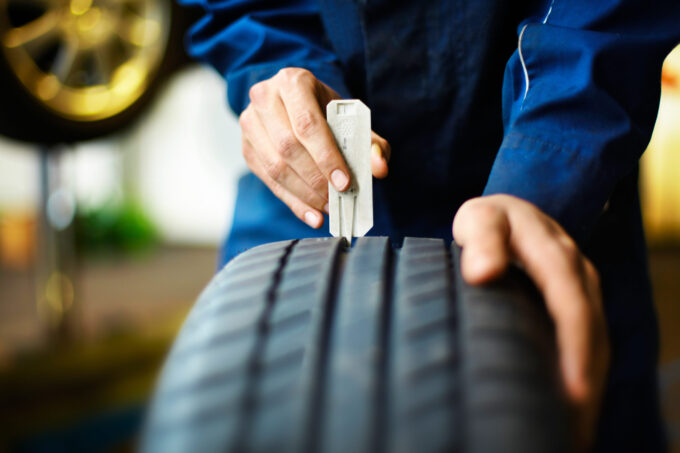
You’ll want to carefully inspect all your tires to see which ones are flat. You might not see something obvious. Sometimes it’ll be a small nail or another small foreign object that caused your flat tire. If you still don’t see anything after a careful inspection, you can gently run your hands around the front and back of the tire to feel for something. If you feel an object such as a nail, remove it immediately. The nail may be hard to remove with your bare hands, so grab your tool or emergency kit and pull it out.
Step 6: Gather Your Tools and Apply Wheel Wedges
Before changing the flat tire, apply wheel wedges in front and behind the tire you’re changing. This will help keep the car from moving while you work. Then, ensure you have:
- A Jack
- A Lug wrench
- A fully inflated spare tire
You may need a flashlight to help you see in the dark and a pair of gloves to protect your hands. Although not always necessary, it’s good to keep a small cut of 2”x6” wood handy to help you secure the jack. You could also keep the vehicle owner’s manual beside you in case you’re unsure of anything or require specific instructions for your vehicle.
Step 7: Changing the Tire
Here all the steps to change out your flat tire:
- If hubcaps cover the lug nuts, remove them before using the jack. You can generally remove them by using the flat end of your lug wrench. Some cars may require another tool, but you can check in your owner’s manual.
- Place the jack beneath the frame of your car, following the instructions in your owner’s manual. Be sure to place the jack in an area where it won’t dig into or be crushed by your car. Before lifting your car, you can place the 2”x6” wooden board we mentioned earlier under the jack to provide better stability if you need it. This isn’t always necessary.
- Crank the jack to lift your car until the flat tire is roughly six inches high. Do not at any point have any body part underneath your lifted car as a safety precaution.
- Place the lug wrench over the lug nut on the flat tire and turn it to loosen. You’ll want to do this a few times until the lug nuts become loose. Then, remove them and set them aside somewhere safe.
- Remove the flat tire and lay it down, ensuring it doesn’t roll away. Replace it with the spare.
- Lower your car down slightly by cranking the jack so that you can put the lug nuts back on tightly. Lower your vehicle completely once they’re on, and then remove the jack. If you removed hubcaps, place them on your spare tire if they fit, otherwise store them for later.
Step 8: Small Test Drive and Fixing Your Flat Tire
Go for a small and slow test drive around to ensure everything is working properly. If you have some free time, consider taking your flat tire to a technician to get it fixed.

