Growing the Gary Payton strain from seeds is an exciting and rewarding experience for cannabis enthusiasts and cultivators. This unique and potent hybrid offers a well-balanced blend of effects, a captivating flavor profile, and a rich genetic lineage. To successfully cultivate the Gary Payton strain, you need to consider various factors, from germination to harvest. In this comprehensive guide, we will explore what it’s like to grow the Gary Payton strain from seeds, including the optimal growing conditions, care requirements, and techniques for a successful harvest.
1. Selecting High-Quality Seeds

Source: herb.co
The journey of growing the Gary Payton strain begins with selecting high-quality seeds. To ensure genetic consistency and a successful harvest, it’s crucial to obtain seeds from reputable sources or breeders. Look for seeds that are mature, with a dark, healthy appearance and a strong seed coat. Healthy seeds are more likely to produce vigorous and resilient plants.
2. Germination Process
Germination is the critical first step in growing the Gary Payton strain from seeds. This process sets the stage for the plant’s health and vitality. Here’s how to effectively germinate the seeds:
Germination Medium: Begin by choosing a suitable germination medium. Options include peat pellets, rockwool cubes, or the classic paper towel method. Ensure that the chosen medium is damp but not waterlogged.
Seed Placement: Place the seeds about 0.5 inches deep into the germination medium. If using the paper towel method, fold the towel over the seeds, keeping it moist.
Temperature and Humidity: Maintain a warm and humid environment for germination. Ideally, aim for a temperature range of 70-85°F (21-29°C). You can create these conditions using a humidity dome or plastic wrap to trap moisture.
Patience: Germination can take anywhere from 2 to 7 days. Be patient and avoid disturbing the seeds during this critical phase.
3. Transplanting Seedlings

Source: reddit.com
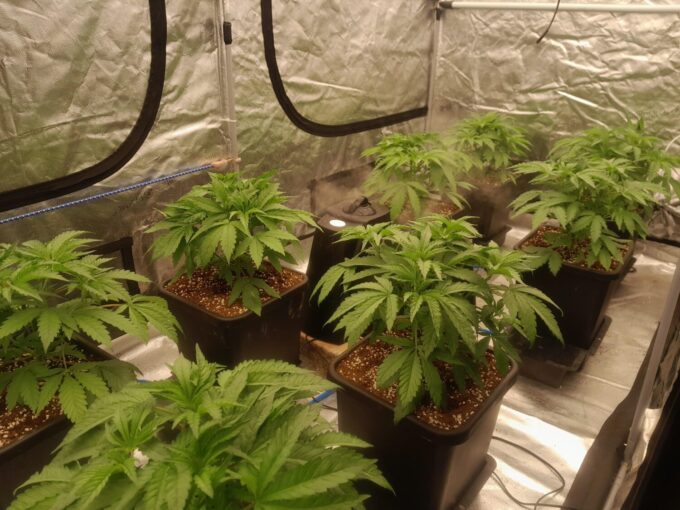
Once the seeds have successfully germinated and you have healthy seedlings, it’s time to transplant them into their growing containers. Here are the steps to follow:
Growing Medium: Select a high-quality cannabis-specific growing medium or a well-balanced potting mix with good drainage. Avoid overly compacted soils or mediums that retain excessive moisture.
Container Selection: Choose pots or containers that provide adequate space for the root system. Consider starting with smaller containers and gradually transplanting into larger ones as the plant grows.
Lighting: Provide your seedlings with a source of gentle, indirect light. Seedlings are sensitive to intense light at this stage, so using fluorescent or LED grow lights is recommended.
Transplant Care: Carefully remove the seedlings from their germination medium, taking care to keep the roots intact. Gently place them in their new containers at the same depth they were in the germination medium.
4. Vegetative Stage
The vegetative stage is essential for establishing a strong plant structure before transitioning to the flowering stage. Consider the following factors:
Lighting: During the vegetative stage, provide your plants with 18-24 hours of light per day. LED or high-output T5 fluorescent lights are suitable for this phase.
Nutrient Requirements: Use a balanced vegetative-focused nutrient solution and maintain proper pH levels (around 6.0-6.5) to facilitate nutrient absorption.
Training and Pruning: To promote a bushier and more robust plant, consider training techniques such as topping, low-stress training (LST), and pruning. These methods help manage the canopy and encourage even growth.
Temperature and Humidity: Maintain a comfortable temperature range of 70-85°F (21-29°C) and relative humidity levels between 40-60%.
Pest and Disease Management: Regularly inspect your plants for signs of pests or diseases and implement preventative measures to protect your crop.
5. Transition to Flowering

Source: seedyourhead.com
The decision to transition your Gary Payton plants from the vegetative stage to the flowering stage is pivotal, as it determines when they will start producing buds. To induce flowering, adjust the light cycle to 12 hours of light and 12 hours of uninterrupted darkness. Ensure that the plants receive complete darkness during the dark period to avoid disrupting the flowering process.
Light Control: Ensure total darkness during the dark period, as any light interruptions can interfere with the flowering process.
Nutrient Shift: Adjust the nutrient regimen to focus on flowering-specific nutrients. Phosphorus and potassium are essential during this stage.
6. Flowering Stage
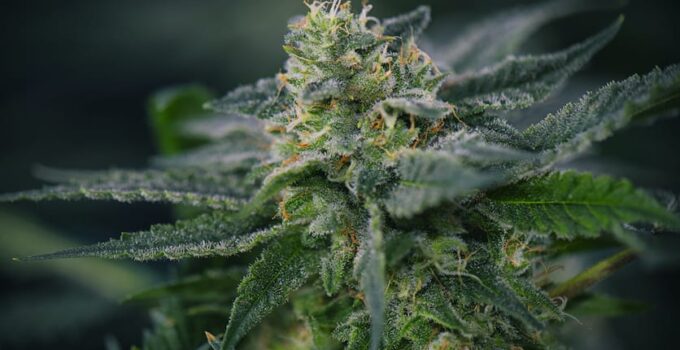
The flowering stage is when your Gary Payton plants develop their iconic buds, rich in cannabinoids and trichomes. The duration of this stage typically spans 8 to 10 weeks. Here’s what to consider during this period:
Lighting: Continue with the 12/12 light cycle and ensure a consistent light schedule, as any interruptions can lead to issues like hermaphroditism.
Nutrient Management: Monitor your plants’ nutrient requirements and adjust as needed. Be cautious not to over-fertilize, as it can result in nutrient imbalances or nutrient burn.
Trichome Inspection: Pay close attention to the trichomes covering the buds. The ideal time to harvest depends on your desired THC level and the strain’s genetics. Harvesting earlier may result in a more cerebral, energetic effect, while waiting for more amber trichomes can produce a more sedative experience.
Flavor and Aroma Development: The unique flavor and aroma of the Gary Payton strain typically develop during the flowering stage. Pay attention to these characteristics as they mature.
7. Harvest and Drying

Source: dudegrows.com
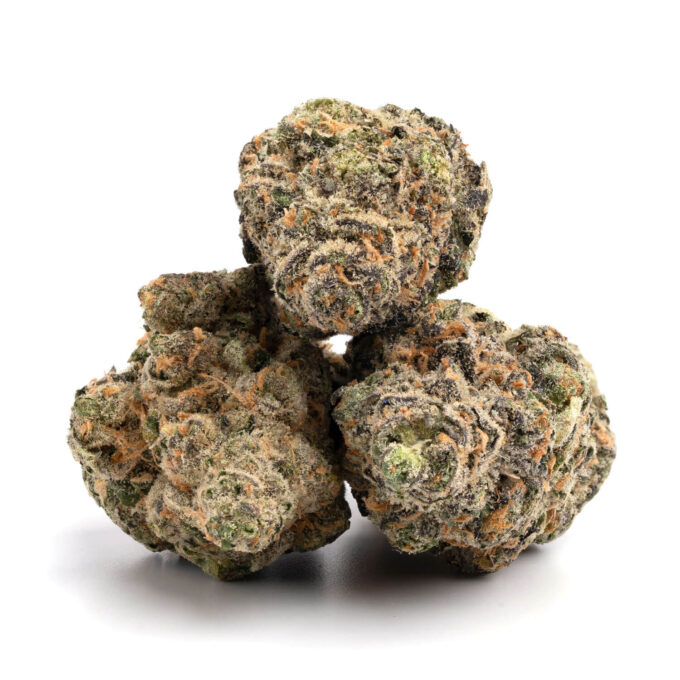
Harvesting your Gary Payton plants is a moment of celebration for growers. To ensure the best results, follow these steps:
Harvest Timing: Harvest when the trichomes have reached the desired level of milky and amber coloration. Use a magnifying glass or a microscope to examine the trichomes closely. Harvesting earlier may result in less potent buds, while waiting too long may lead to a more sedative effect.
Pruning and Trimming: Trim excess foliage and sugar leaves to expose the buds. This improves airflow and enhances the appearance of the final product.
Drying Process: Hang the trimmed buds in a dark, cool, and well-ventilated space with a relative humidity level of around 45-55%. The drying process can take 7-10 days.
Curing: After drying, transfer the buds to airtight containers, such as glass jars. Burp the containers daily for the first two weeks to remove excess moisture and enhance flavor and aroma. Afterward, burp the jars less frequently.
8. Post-Harvest Care and Storage

Once you’ve successfully harvested and cured your Gary Payton buds, it’s essential to consider storage to preserve their quality:
Storage Containers: Use airtight glass jars or containers to store your buds. These will help maintain freshness and prevent mold or humidity-related issues.
Storage Conditions: Keep the jars in a cool, dark place away from direct sunlight, heat, or excessive humidity. The ideal storage temperature is around 60-70°F (15-21°C).
Long-Term Preservation: For long-term storage, consider vacuum-sealed bags or containers designed for extended preservation.


