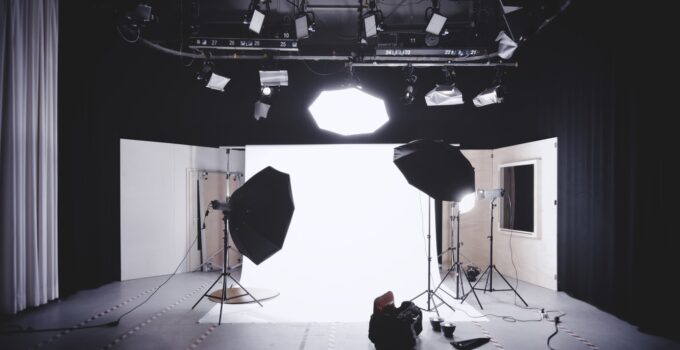
The best way to make sure we are getting the most out of our photography equipment is through some proper understanding of the tools we are utilizing. To achieve this we need to know how to avoid mistakes that can so easily be made when using said tools. This goes double for backdrops as these can sometimes make or break your photography sessions. Buying new ones and orienting the space around them correctly should be your key concern. The below article lays out such information in multiple categories so that you can figure the entire backdrop setup out quickly.
1. Underestimating the importance of different designs and green backdrops

Source: unsplash.com
Among the choices we can make when picking a backdrop one that we should keep in mind is the style of that same backdrop. By style we mean the design on the backdrop and the colors present on it. Extra attention should be given to the choice of designs because different designs can come through in different cases. A simple single-color one can be a great choice for regular portraits and group pictures that do not require additional set additions. In terms of more intriguing but limiting choices, you can pick different designs that could represent a simple texture. For example, a simple brick wall texture can add a lot of style to each picture taken at our studio.
The choice of a green backdrop is something more unique though. You should get a green backdrop if you are planning to utilize a computer to project a picture onto it. Through this, we can get a more varied choice of locations with some extra work that goes into fitting the picture together. Even green screens have their own different styles. You could get a portable green screen if you do shooting both in and out of your studio, allowing you to configure the green screen after an outside shooting. The ability to simply pop up green screen anywhere is invaluable for any photographer, making it very useful. You should look through the backdrop designs and styles yourself by visiting Luxburgvisual and picking the one that fits your photography style the most.
2. Getting the backdrop whose size doesn’t fit our studio
Source: unsplash.com
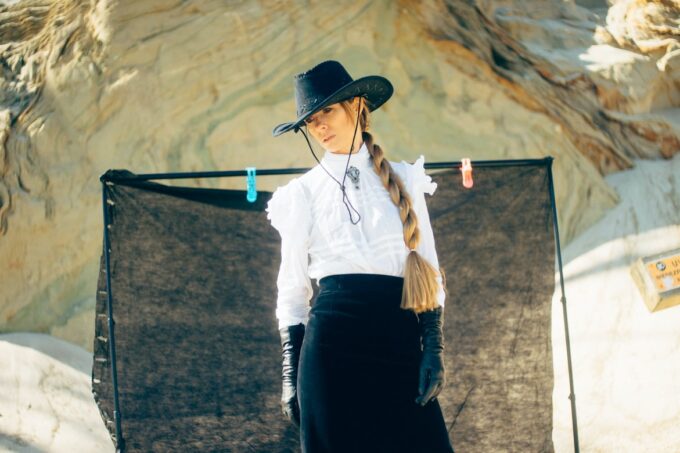
When it comes to selecting a photography backdrop the importance of size shouldn’t be neglected. While just about any backdrop will do the job, planning around the space you have and the space the backdrop will take up is key.
The biggest mistake made when purchasing a photography backdrop is not accounting for these. By neglecting the capacity of our space, we can find ourselves unable to fully use the bigger backdrops. This can lead to a lot of mounting issues as well which will leave all of our photography work stagnating for a while. The additional hassle to accommodate the backdrop can easily be prevented by taking the aforementioned factors into calculation before purchase. Not only will this make our job much faster and the whole backdrop aspect easier to set up, but it will also improve the longevity of the item because it won’t get crumpled or torn from constant adjustments. Measuring beforehand also makes sure you can use the most of the space by getting bigger backdrops if necessary. Otherwise, you may find yourself missing space for some of your clients and models.
3. Not accounting for additional equipment

Source: unsplash.com
On the same subject of space, backdrops aren’t the only item that will be taking it up within our studio. Lighting, the camera itself, props, mounting equipment, and all the other additions should be taken into account. The distance between the equipment and the person or object we are pictures of should also be taken into account. After all, the difference in shadow and lighting effects can make all the difference between getting a good picture and getting a great picture.
Account for all the accessories and try to roughly envision the layout of your studio before actually purchasing the backdrop itself, or other equipment if you are just starting. This is even more crucial than the aforementioned issue of being unable to accommodate the backdrop alone. Purchasing equipment that’s incompatible with our space can result in it being impossible to implement. For example, buying a light source that’s too tall for our ceiling can heavily hamper its maneuverability, especially if it’s more rigid in construction. If you can implement all the equipment with room to spare for effective spacing that will improve the quality of the picture then there will be no issues but it’s better to make sure the situation will flow swimmingly than correcting the problems afterward.
4. Damaging the walls with improper mounting
Source: unsplash.com
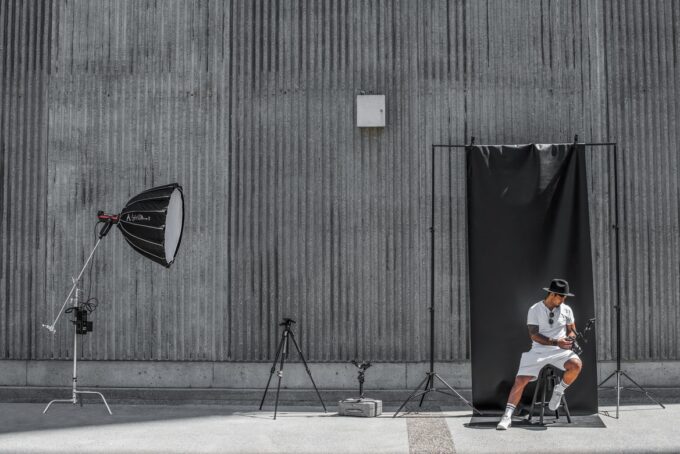
It’s not uncommon to forget some of the smaller requirements of our equipment. An example of this includes backdrop mounting. This act is usually simple but improperly executing it can damage the walls or cause the backdrop to fall in the middle of the shooting.
Walls can easily get scratched by mounting pipes and mounting hooks that haven’t been secured properly. To prevent this we should give it enough space between the wall and the backdrop. Securing the parts of mounting equipment that aren’t already covered is required to prevent accidental damage. Lastly, you should educate yourself a little bit more about mounting the backdrop.
A prepared photographer should assemble proper mounting hardware when getting a backdrop. The simplest way to do so is by using detachable wall hooks. This is optimal for small to medium backdrops because big ones could cause too much strain on the hooks.
If you are using a heavier backdrop consider using a traditional backdrop support system. Such a system is a very common type of mounting used to keep backdrops fixed. The system itself is usually made out of a 3-section crossbar and two light stands.
There are multiple other backdrop support systems available on the market, each with different advantages when it comes to functionality and ease of setting up, but they usually warry in price. That includes an x-drop backdrop frame, which switches the 3-section crossbar with an x styled one, as well as backdrop support systems with pole holes that can be used for storage.

